Is there anything better than eating a bowl of ice cream on a hot summer day? We don’t think so. But if you don’t want to run over to the local scoop shop or the supermarket to get a new tub, there’s an easy way — and we mean really easy — you can make delicious ice cream right at home.
We chatted with Sarah Skaggs and Jessica Bailey, the BFF duo behind the blog Pretty Providence, to find out how to make ice cream using a few simple ingredients and a couple plastic bags. “We used to make this every summer when we were kids — especially when we were camping,” they say. “It’s fun to do, requires just a few ingredients and it also works as a science lesson if you explain a little bit about the chemistry of it.”
You can check out their full recipe here, but Skaggs and Bailey walked us through the simple process. To make homemade ice cream, you put a small bag of cream and other ingredients inside a larger bag that contains ice and salt. Then, just shake the bags for about 10 minutes and with a little magic (aka chemistry), your cream turns into ice cream.
If you’re wondering just how this works, you’re not alone. So we asked Ben Van Leeuwen, CEO and co-founder of New York scoop shop Van Leeuwen, what happens inside the bag. “The bag method is possible because it emulates the continuous freezer process by aerating the ice cream and exposing it rapidly to much colder surface area,” he says. “The salt drops the temperature of the ice to a level which will freeze the water that exists in the ice cream mix ingredients. This is a super-easy and pretty good way of making homemade ice cream quickly and with minimal equipment.”
But does making ice cream in a bag compromise on flavor? “It won’t be as smooth or creamy, as the ingredients will not be mixed or homogenized as well, and they also won’t be frozen as rapidly,” Van Leeuwen says. “With that said, I really love the results of this method. It’s refreshing and you really can enjoy the texture difference between this and factory-made ice cream.”
Before you start shaking, you’ll want to make sure you have all the supplies you need for a fun and easy ice cream-making experience.
What you’ll need to make ice cream in a bag
Ziploc Gallon Freezer Bags
$12.46 $9.94 at Amazon
You want to get thick bags since you’ll be shaking the mixture for a while and you don’t want to have any leaks or breaks.
Ziploc Quart Freezer Bags
$11.96 $9.84 at Amazon
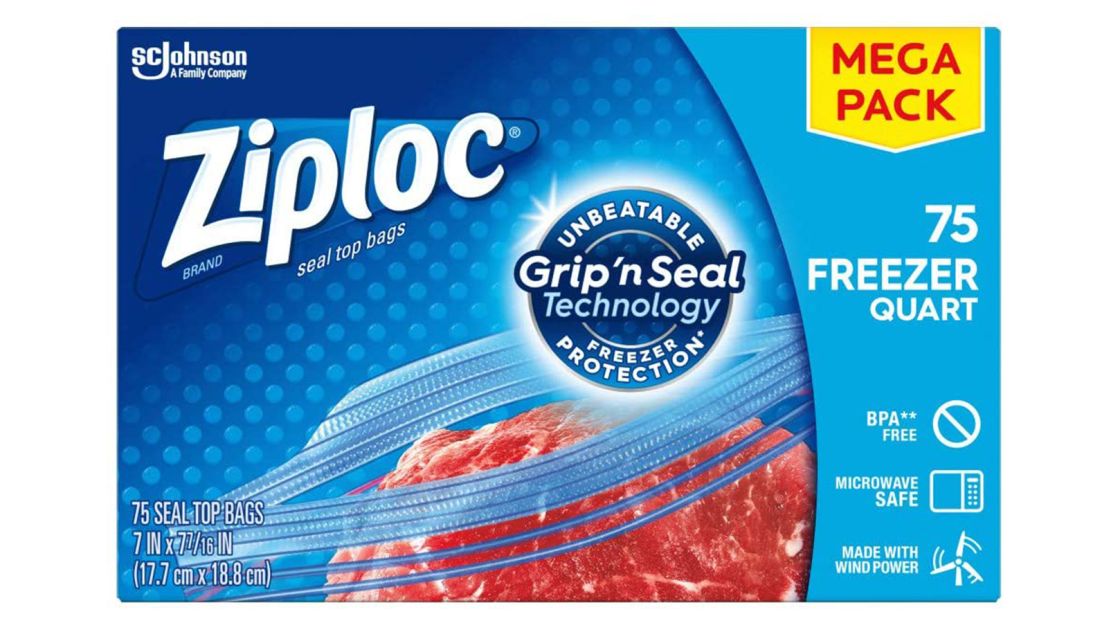
Skaggs and Bailey recommend double-bagging your cream mixture to prevent any leaks.
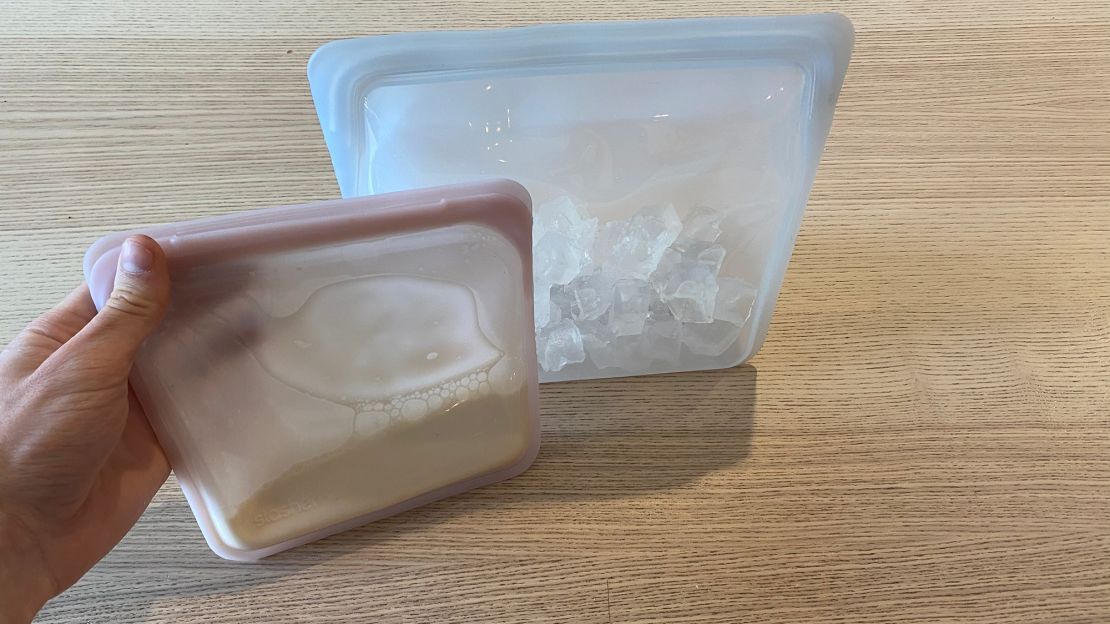
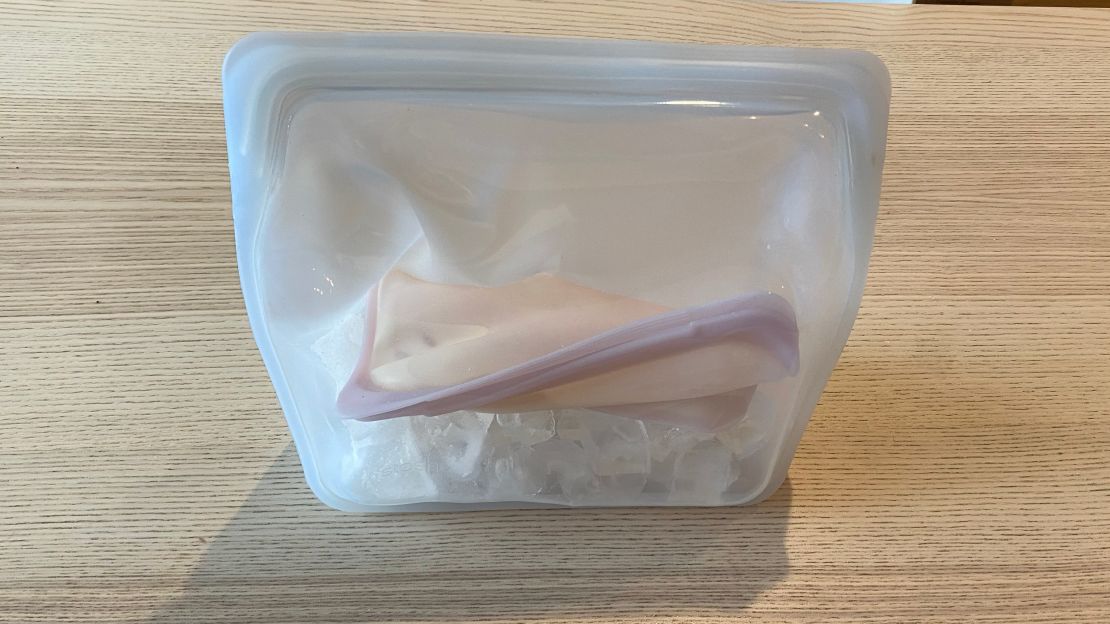
Stasher Silicone Reusable Storage Bag, Stand-Up Mega
$29.99 From $22.49 at Amazon
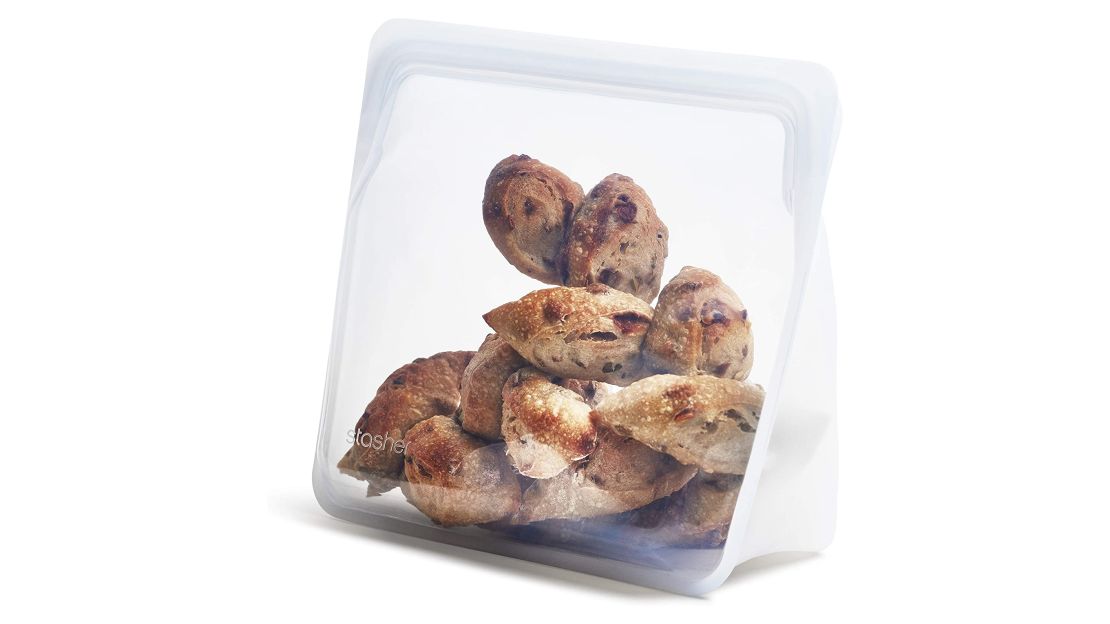
If you don’t want to use single-use plastic bags, you can do the same process with reusable Stasher bags. This large stand-up bag has plenty of room to fit a smaller one.
Stasher Silicone Reusable Storage Bag, Sandwich
$12.99 From $9.74 at Amazon
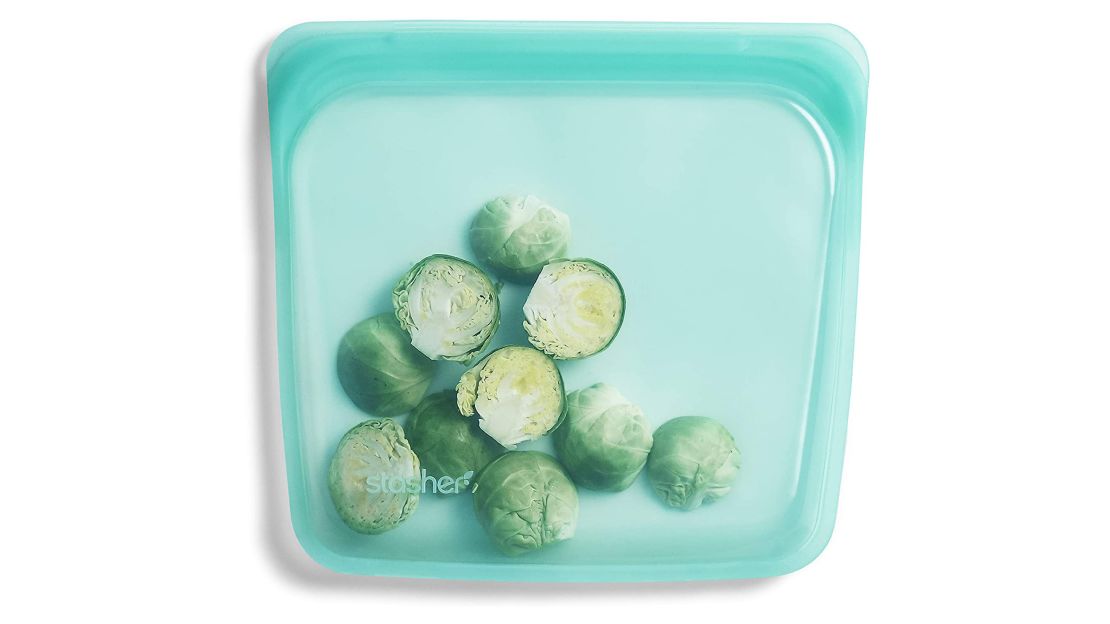
This small bag closes tight, but you’ll want to double-check it’s completely sealed so your mixture doesn’t spill.
Morton Salt Rock 4-Pound, 2-Pack
$16.99 at Amazon
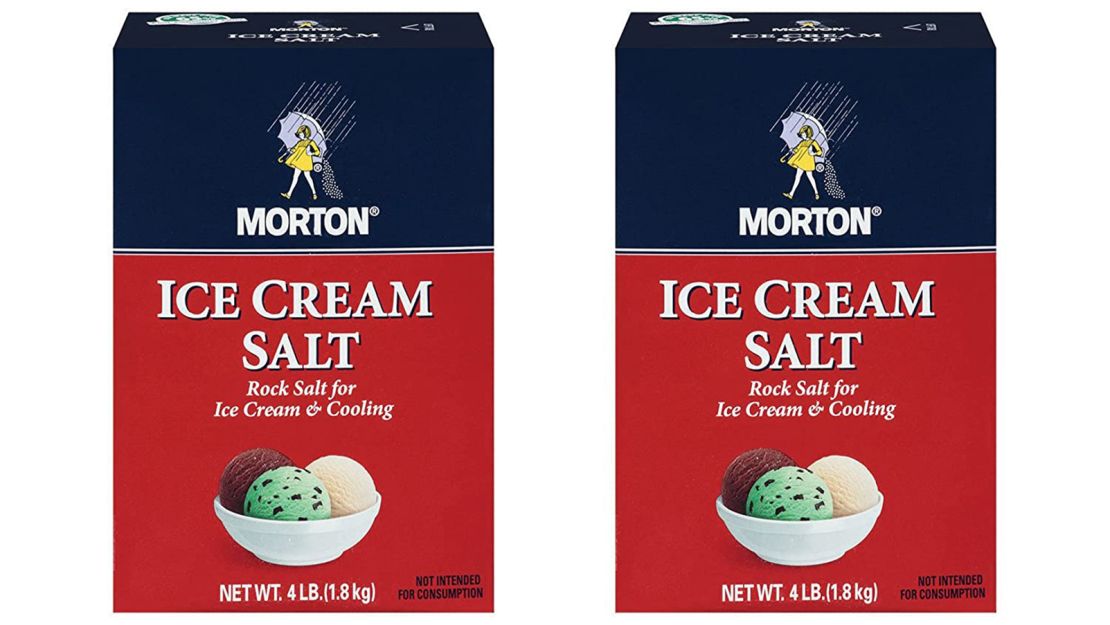
This is the key ingredient to the process, as the salt helps turn the cream into ice cream faster. If you can’t find ice cream salt, you can also use kosher salt.
Homemade ice cream in a bag recipe
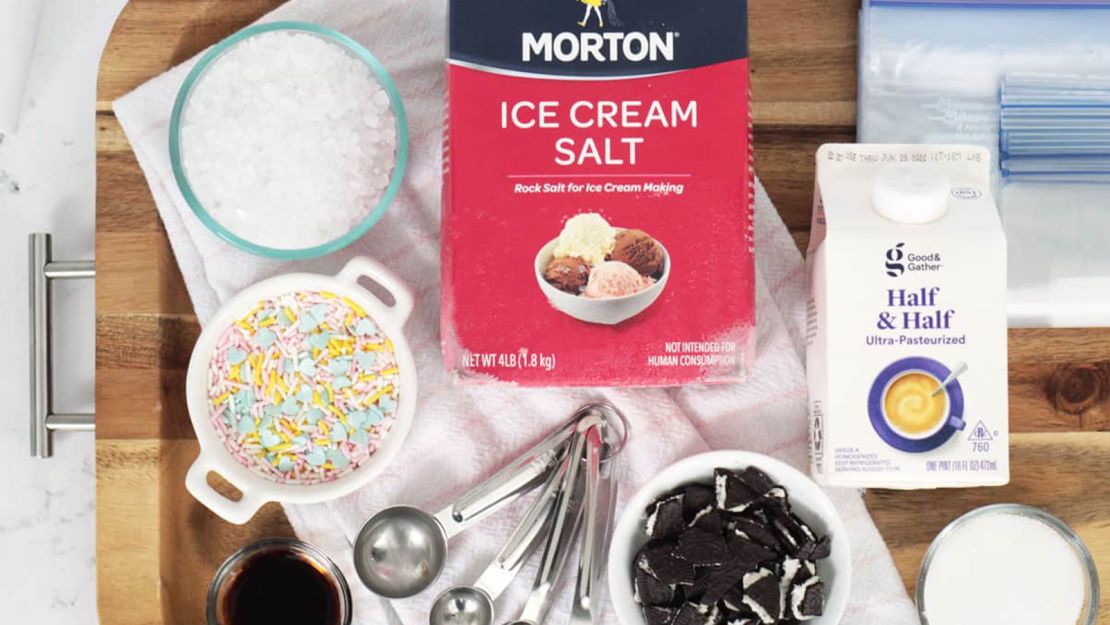
Now that you’ve got everything you need (remember to stock up on ice!), you’re ready to make some ice cream. Pretty Providence’s recipe calls for the following ingredients.
- 1/2 cup half and half
- 1 tablespoon sugar
- 1/4 teaspoon vanilla extract
- Additional flavors or mix-ins, optional
- 3 cups ice
- 1/3 cup ice cream salt
Here’s how Skaggs and Bailey make their delicious homemade ice cream.
- Pour the half and half, sugar and vanilla into a sandwich-size Ziploc bag.
- Optional: Put additional flavors or mix-ins, like chocolate syrup or crushed Oreo cookies, into the bag and mix well.
- Eliminate as much air as possible before sealing tightly.
- After sealing, place that inside a second sandwich-size Ziploc (we don’t want any leaking) and seal tightly.
- Add ice and rock salt to the gallon-sized bag, then add the sandwich bags of ice cream mixture.
- Remove air and seal the large bag.
- Squeeze and shake the bag until ice cream forms.
- For a thick milkshake consistency, shake for 10 minutes. For a harder ice cream, shake for 15 minutes.
- Remove the filled bag from other bags and enjoy!
Skaggs and Bailey say that when you’re shaking, it’s important to be patient. “Ten minutes can feel like a while when your arms aren’t used to shaking that long,” they say. “Try making a game out of it (like hot potato) or our personal favorite, a dance party!”
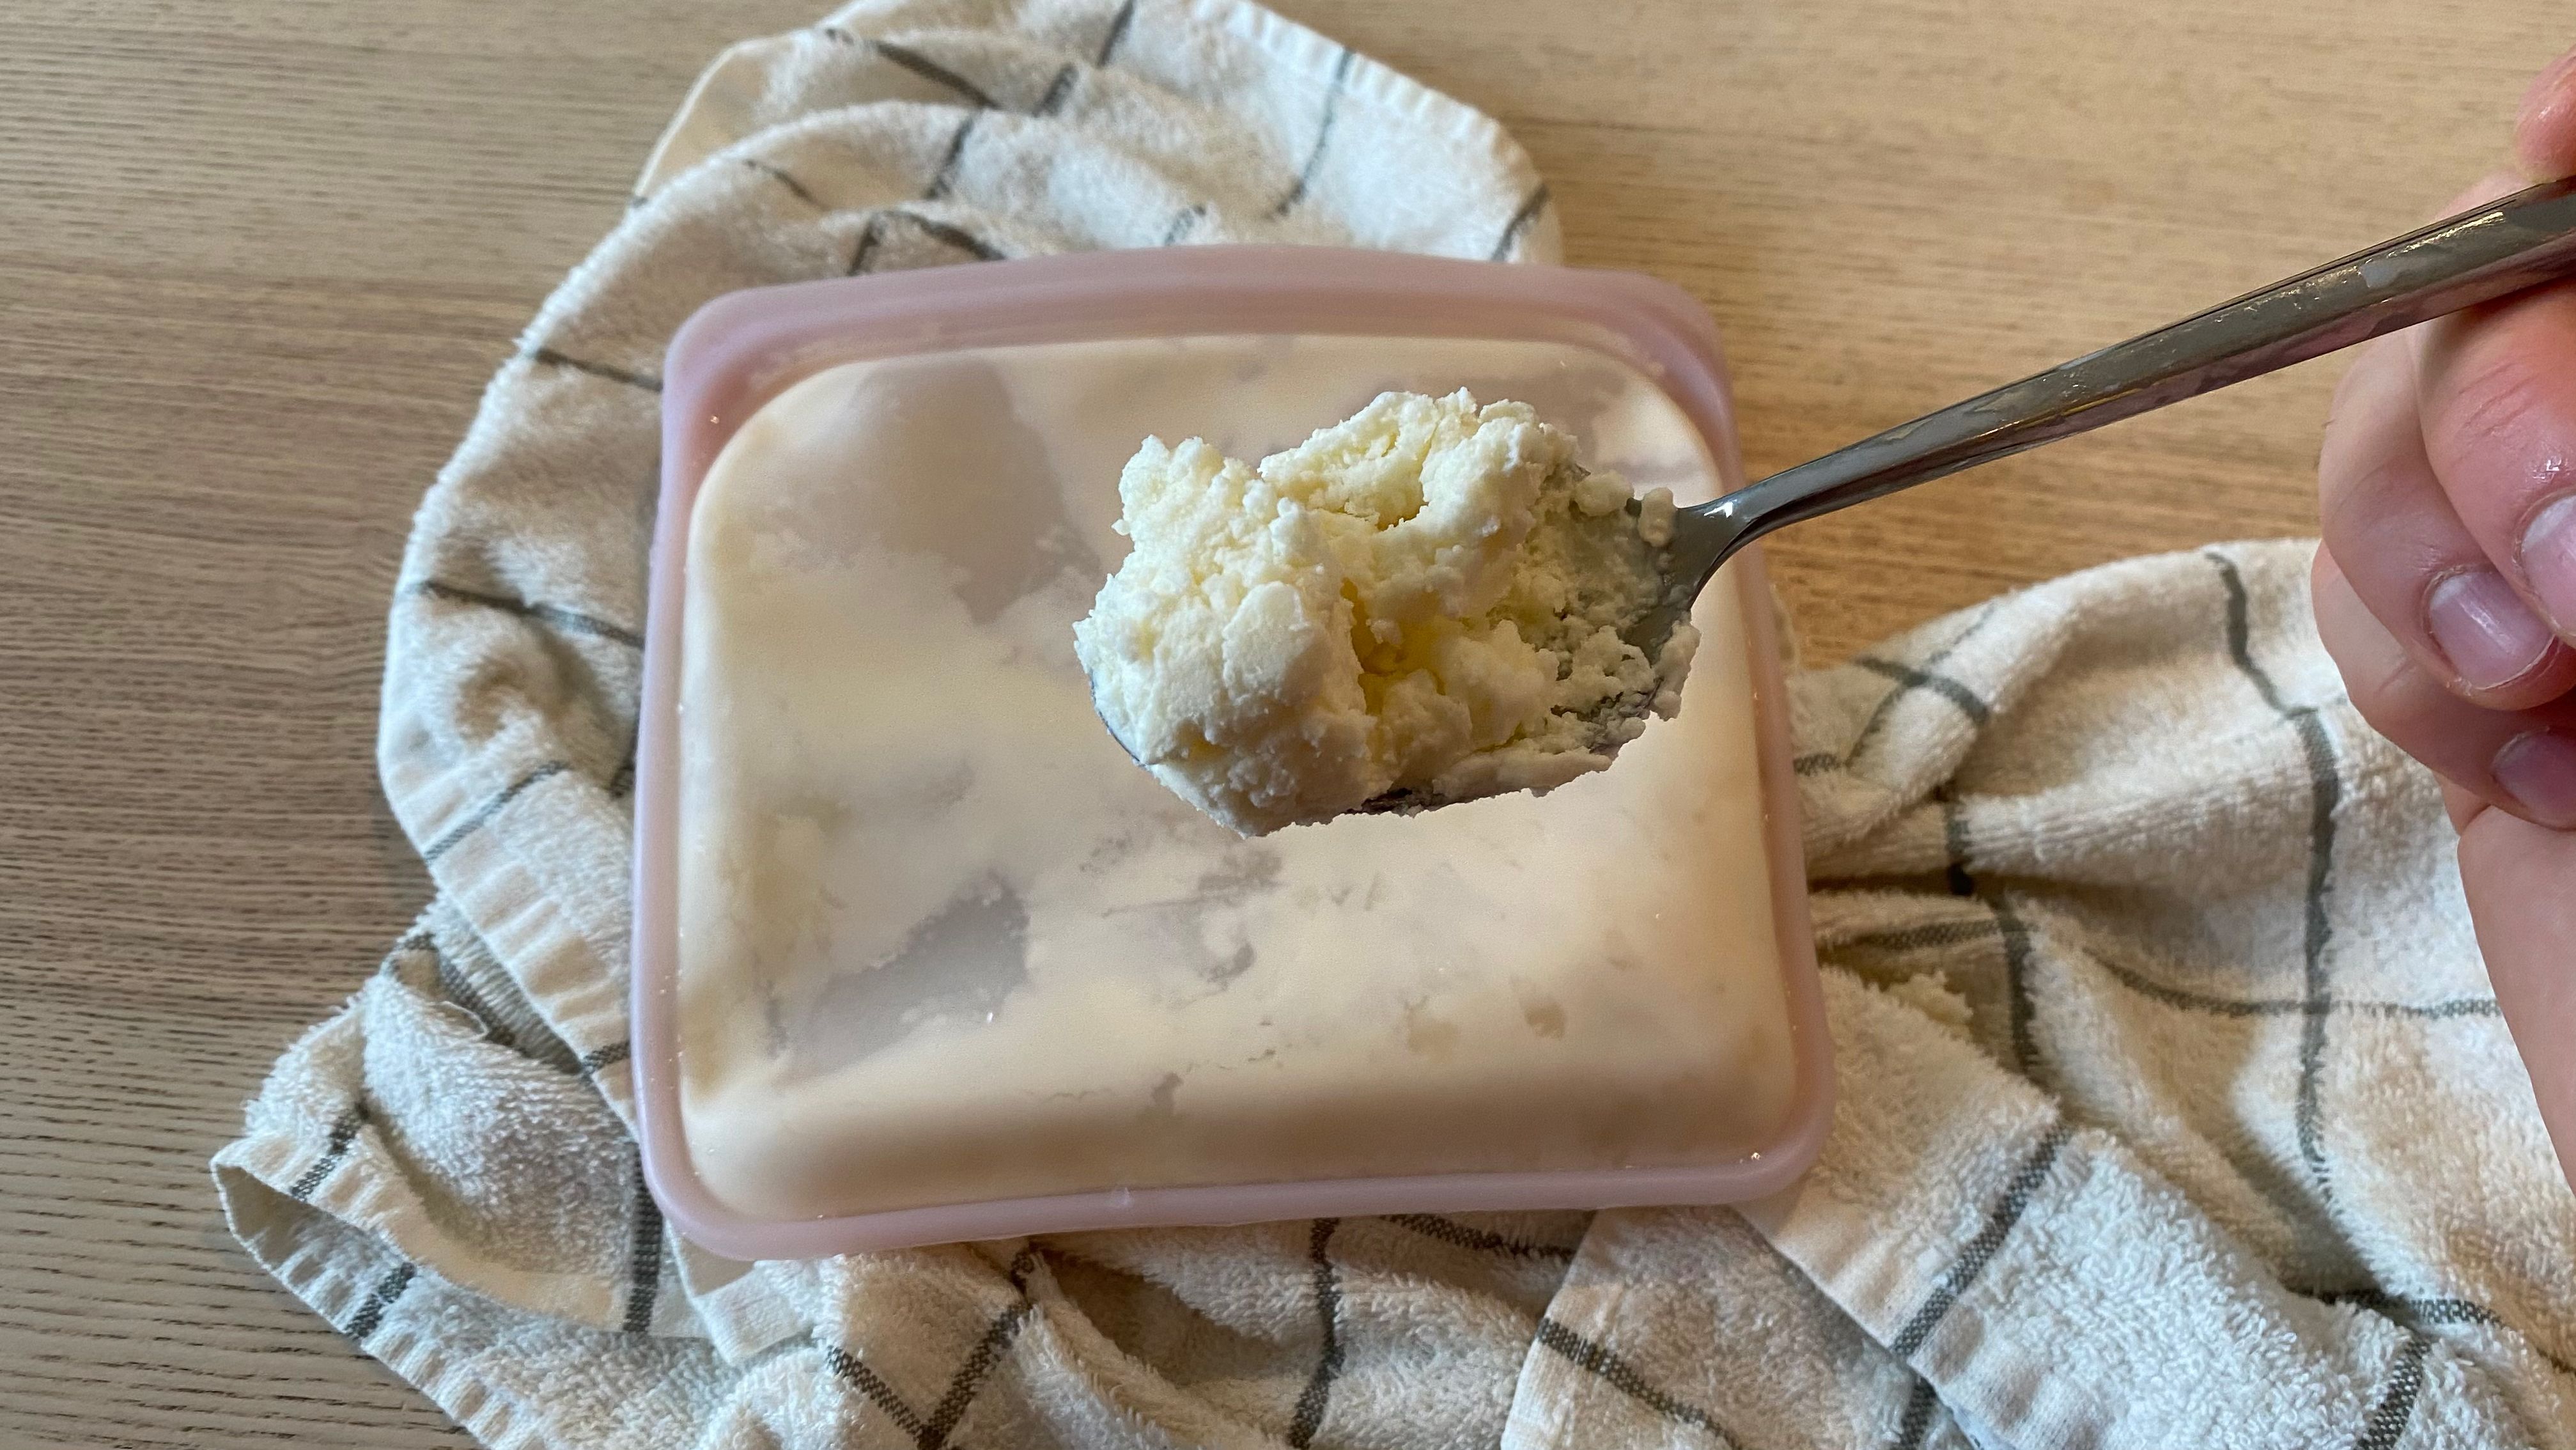
We tried out this recipe ourselves in both plastic bags and Stasher bags. It really was a fun and super-easy way to make tasty ice cream. The 10 minutes did feel longer than we expected, but if you have kids around it’d be a great activity to do in the backyard. One tip we’d add: Wrap the bags in a towel or two when you shake. That way your hands won’t get as wet and cold.
It’s that simple! Now you can skip the soft serve and grab your plastic bags, some ice and salt and get shaking for easy and delicious ice cream all summer long.